We all want to refresh our interior from time to time without having to pay for new furniture or wallpaper. That’s wherewooden signs come in. The best thing about them is that they go well with different interior styles.
Create your own DIY wood signs and art pieces. Get inspired by the ideas I’ll share below and make use of the bonus section to find cool quotes, the best fonts and other helpful information.
How to Make Wooden Signs
DIY wood signs make cool decor pieces. To top, they’re easy to make. With this step-by-step guide, you’ll be able to DIY them like a pro. Get ready to create your own home or backyard party decor with stunning DIY wood signs.
I’ll share tips on how to make wooden signs with sayings using different techniques. The best part about these is that you won’t need any expensive equipment.
Read the tips and highlights at the end for expert advice on how to make rustic wood signs.
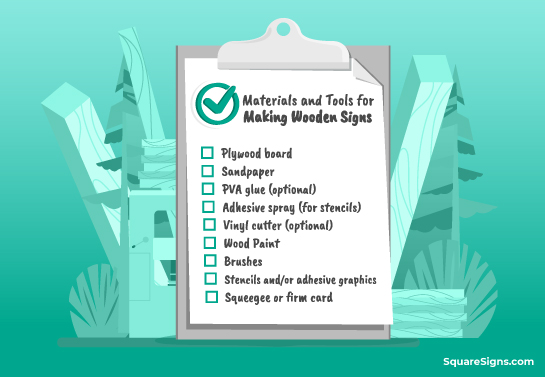
Step 1. Preparing the Base
I know that decorating is the most exciting part of how wooden signs with sayings and design elements are made. However, to start crafting your DIY wood signs, you first need to prepare the wood.
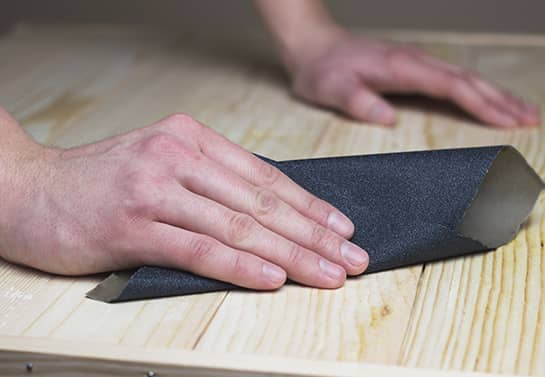
Get plywood from a local craft shop or supplier. They can usually cut it down into the sizes you want. Plywood is smooth as is but you can get sanded wood from the store itself. Either way, you may still need to sand it down further for a super smooth surface. Fine 120 grit sandpaper will do well, though it depends on the existing smoothness of your board. Don’t forget to smooth the edges!
Step 2. Painting the Background
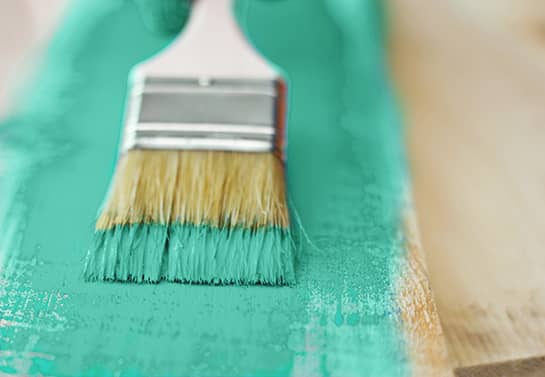
The next step in the process of how to make wooden signs is painting them to get a background color. You may need 1-3 coats depending on the type of wood paint and the thickness of the layer you want to get. In case you want the wood grain to be visible under the paint coat, 2 layers should be enough.
Apply the paint in the direction of the wood grain and choose a quality brush or roller for a perfect finish.
Step 3. Decorating the Sign
We’ve reached the last step of how wooden signs are made! Design artful DIY wood signs with different techniques described below. Choose the one that seems most appealing to you or go with a mixture of both to get more sophisticated looking signs.
Scroll down to get inspiring wood sign ideas!
How to Make Wooden Signs With Stencils
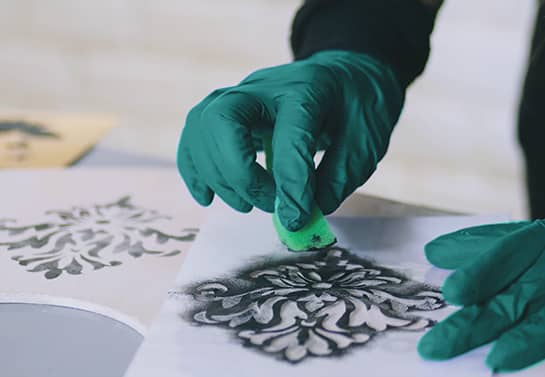
Stenciling is a popular way of creating DIY wood signs and it works great. Whether you want to know how to make wooden name signs or just want a nice design on the board, stenciling gives you a lot of artistic freedom.
Position the stencil on the board after spraying the back with semi-permanent adhesive spray. Once you decide the right place for the design, hold it tightly for a minute to make sure it sticks into place.
Now you’re ready to paint over the stencil with a sponge brush or the like. Use up and down motions for the best results. Start with very little paint and don’t lather on too much so it doesn’t bleed beneath the stencil.
Take off the stencil once you’re done and leave the board to dry completely.
This is how wooden signs with stencils are made.
How to Make Wood Signs With Vinyl Lettering & Elements
Another method of how to make wooden name signs or ones with a quote or pattern is by using adhesive graphics and letters. Ones made of vinyl give the most elegant look but you can go with other decal materials if you wish.
Keep in mind that you must have a smooth surface before applying the vinyl stickers. To ensure they stay well put, you’ll need a smooth surface and paint layer.
Use a vinyl cutter machine or order premade graphics and vinyl lettering. Once you have your design, carefully pull off the transfer paper. All of the parts of your design including letters and elements should stay in place.
Put the transfer paper on your sign. Sounds easy but happens to be tricky, especially with big designs. Make sure the positioning is correct as you won’t be able to change it after it’s stuck in place. Once it’s set, rub the whole surface with a squeegee to squeeze out any air bubbles.
Remove the transfer paper slowly. If you notice that parts of the design are peeling off, put the transfer paper back onto the board. Rub the surface with a squeegee to press the vinyl firmly onto the board.
This is how to make wood signs with vinyl lettering. Your DIY wood signs are ready to go.

Need more decoration ideas for your home? Take a look at these Easy DIY Projects for Home Interior Upgrades and start crafting!
Tips and Highlights to Make Wooden Signs Like a Pro
Are you a first-timer in crafting DIY wood signs? Expertise comes with experience. Don’t be afraid to ruin one or two signs. You can always apply another layer of paint and start designing it again.
Here are a few tips and highlights from my experience on how to make wooden signs with sayings and designs like a pro.
1. Make sure to read the manufacturer’s instructions on the paint box to get specific information on its contents and qualities like drying time.
2. If it takes too long to paint your sign, one part may dry before another, leaving you without a perfect result. Consider using additives that extend your working time. Also, avoid working under direct sunlight or a heating vent as they accelerate the drying process.
3. Stenciling the sign is not always easy as you may have paint bleed through in some areas. It’s not the end of the world though. Take a correcting brush and simply paint over any imperfections with the color of your sign’s background.
4. Want to know how to make farmhouse signs? To make the sign look rustic and old, I use fine sanding paper over a painted surface. Make sure the sign is completely dry. Take 200 grit sandpaper and start sanding your sign. Put very little pressure in the center and go harder on the edges. This method works for stenciled signs or before you apply vinyl graphics to the painted background of the board.
5. Rigid plastic cards (like an old credit card, etc.) can replace the squeegee in case you don’t have a professional one on hand.
Wood Sign Ideas for Inspiration
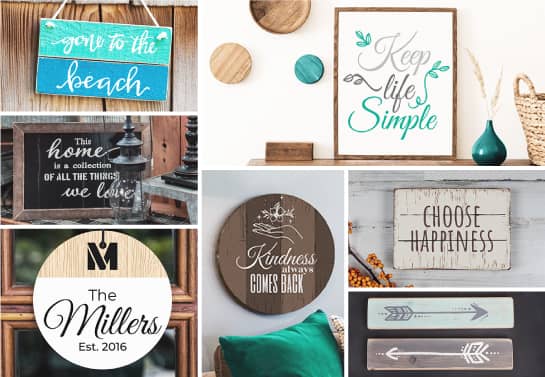
Now that you know how to make wooden signs, what about a handful of cool ideas for inspiration? Check out the decorative templates we have at Square Signs.
Wooden Sign Ideas With Sayings
With the above techniques, you can easily answer the question of how to make wooden signs with sayings. Here are the wood sign ideas that’ll inspire you to start your project right away.
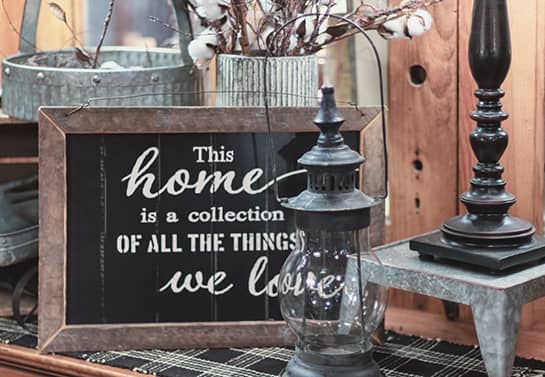
1. Show Your Love for Your Home
Love is caring. Caring is creating an atmosphere of peacefulness and harmony. The right selection of decors may become a great complement to your efforts of creating a home where everyone feels comfortable.
2. Embrace Short Quotes That Talk to the Heart
A few words can become your motivation for the whole day. DIY your own decor with the above-mentioned techniques on how to make wooden signs with sayings and showcase your favorite phrase.
3. Showcase Your Surname
Make a sign with your surname to hang on the door or use it on the shelf as decoration. You can add design elements to make it look unique.
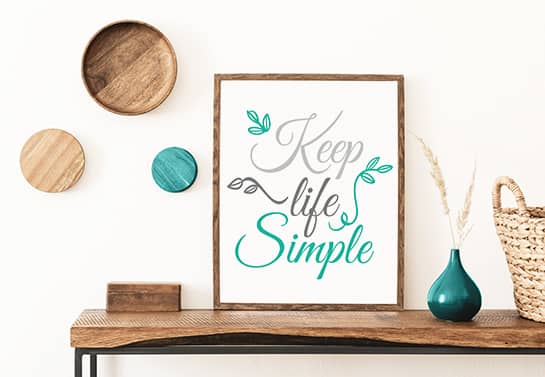
4. Use Simple Designs to Complement the Quotes
Simple design elements add style to your decoration. You can make them by either applying adhesives or stenciling a design.
5. Make Today and Your Wooden Decor Amazing
Give your creativity freedom when it comes to the shape of your decor. You can combine multiple shapes to make your design unique.
Farmhouse and Rustic Wooden Sign Ideas
Wood sign ideas go hand-in-hand with rustic signs. I’ve shared an easy way on how to make rustic wood signs above (see point 4 in the Tips and Highlights section if you missed it). Here are cool ideas for making your own.
6. Arrange Multiple Pieces Together
Go for split decors with rustic prints to add a farmhouse feel to your interior. Choose contrasting colors for an interesting touch.
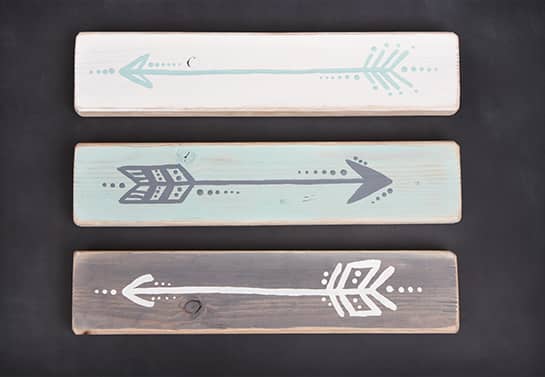
7. Use DIY Wood Signs Outdoors
Although the lifespan of wood is shorter outdoors than indoors, there are a few ways to prolong it. Find out how to make a wooden sign for outdoors at the end of the article.

8. Play With the Background Colors
The colors you use in your interior can tie together all kinds of decorative elements. Use this palette for the background color of your sign.
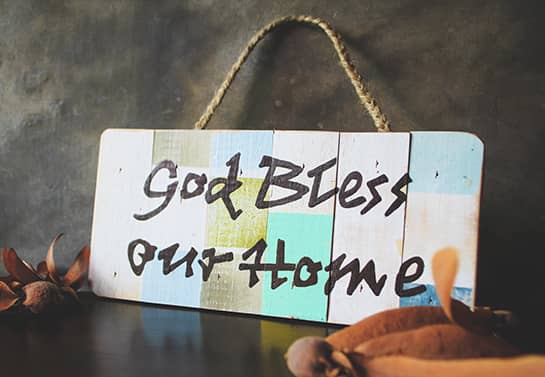
9. Use Funny Signs for Your Door
A funny phrase or quote, simple design, mild color palette... What else do you need for a perfectly rustic decor?

10. Welcome With a Farmhouse-Style Sign
Welcome signs create a warm atmosphere both for family members and those who visit you, especially for the first time.

With these ideas and techniques on how to make farmhouse signs, you’ll get awesome pieces of decor.
Bonus Section With Cool Wood Sign Making Tips
How to Make a Wooden Sign for Outdoors
A quick heads up. I don’t want to disappoint you but no matter what you do, a sign made of wood won’t last forever outdoors. That said, here are a few little tricks to extend your sign’s lifespan.
1. Choose a type of wood that’s water-resistant
2. Apply waterproof oils before painting
3. Use UV-cured and weather-resistant paints
4. Make use of water-repellent preservatives
5. Reinforce the sides with plastic edge caps
And that’s how wooden signs for outdoors are made to last longer.
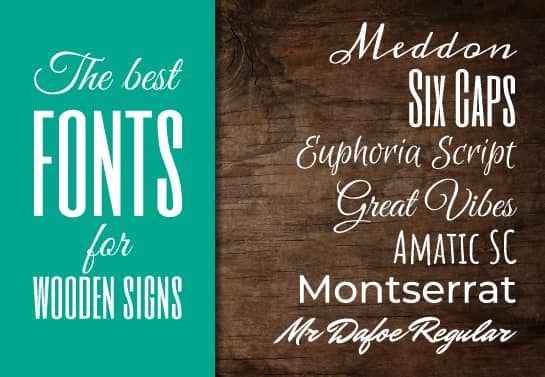
Best Fonts for Signs With Sayings
Whether you go with adhesive lettering or stencils for your DIY wood signs, you’ll need to pick a good font for the text. This can actually be a tricky decision. A lot of factors like readability or sign layout must be taken into account when choosing a font style. Here are the ones that’ll work best for decorative signs.
Nothing beats the feeling of seeing the final result of your own craft. Use the Square Signs design tool to make the adhesive graphic for your DIY wood signs. Our selection of cool templates, elements, fonts and backgrounds will make the process fun and easy.
You can also contact us to order signs made of plywood with direct printing if you want to get them done in a fast and professional manner.


