
Which of these two is your goal?
1. Personalize your vehicle
2. Advertise your company
Since you are here, you’re likely wondering about the essentials on how to make car decals. There are probably a lot of questions in your head: what techniques to use for making the decal, which vinyl to use for what you need, and once it’s ready, how to stick it onto the car correctly.
Well, that’s exactly what we’ll be covering!
By the time you finish reading this step-by-step guide, you’ll know how to make car decals on your own. What’s more, you will also learn how to apply car decals to your vehicle. So stay tuned!
How to make custom decals for cars in 10 steps
Car decals are a great option both for advertising and illustrating your ideas. Striving to achieve an awesome and unique look? I can’t wait to share with you my DIY instructional on how to make custom decals for your car. There are usually three main steps involved in making any type of car decal: designing, printing, and cutting. Now, let’s take a look at the following example steps for making distinct window decals.
How to make your own car window decals without leaving your home
Window decals are a compelling way to present ideas on your car windows. They can be attached both to the outside and inside of your windows. Wondering what material is best to use? It’s the main aspect for success, so I will definitely suggest clear vinyl, a waterproof material that’s able to handle a lot. It comes with a front or back adhesive to make your job easier.
Now let’s see a step-by-step technique on how to make your own car window decals.
Steps to Follow
- STEP 1. Prepare to work by hand. Grab a white piece of paper to start. Draw your ideas on it. Use only bright and evocative colors.
- STEP 2. Choose a favorite design and draw its silhouette on the paper.
- STEP 3. To facilitate your work, attach your drawing to the vinyl with small pieces of tape to hold it in place.
- STEP 4. Once the template is firm on the decal, it’s time for the most significant part - cutting. Take the X-Acto knife and rotate around the template, cutting the outline first.
- STEP 5. Now that the outline has been successfully completed, let’s get into the cutting process for the inside of the decal. To make your selection, start at a negative area like the inside of the letter “D” below and the rest will automatically follow, leaving you with only the necessary parts.
- STEP 6. If your sketch is complex, cut the border into pieces to make removal easier.
- STEP 7. Then, using the Tweezers, get to the selection process. If there are centerpieces or left-over lettering, just go back and get those pieces out.
- STEP 8. When working with this option, transfer tape is the second necessary thing to have. Without it, the stickers cannot be applied, depending on your decal. Make sure your transfer tape is on.
- STEP 9. Then, using a squeegee, smooth it out carefully. Ensure it remains flat and there aren’t any air bubbles left. Once it’s been properly applied, the taping method is complete.
- STEP 10. Now let’s finish the cutting process. It’s recommended to leave a piece of the transfer paper on the edges to enable installation and aid with removing the backing. You may cut the rest out.
That’s it! Your DIY decal is ready. Well done!
Materials Needed
- Drawing tools (paper, pencil, markers)
- Adhesive-backed vinyl
- Scotch tape
- X-Acto knife
- Tweezers
- Scissors
- Transfer tape
TIP Can’t manage drawing by hand? Create it with any photo editing program available on your computer. One more option is to scan your drawing onto the computer, edit and print it.
Order ready vinyl lettering for your car!
Inspiration ideas
Get inspired by the creative examples of window graphics below:
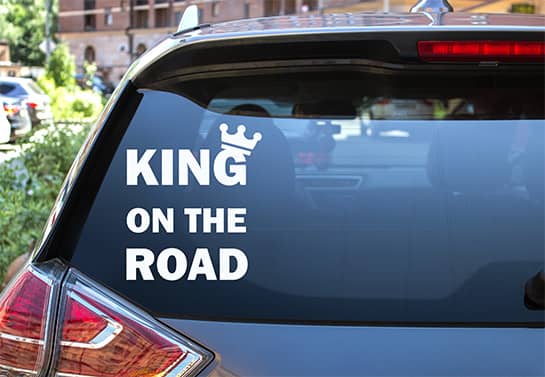
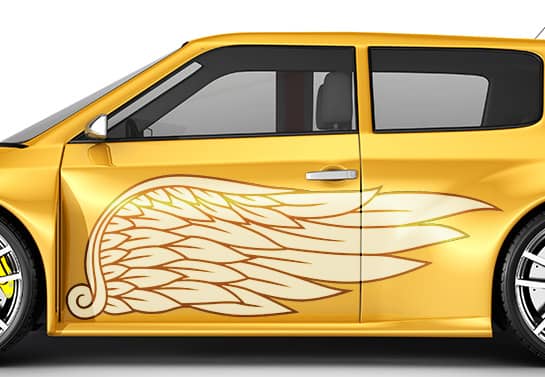
Idea 1. Life is beautiful

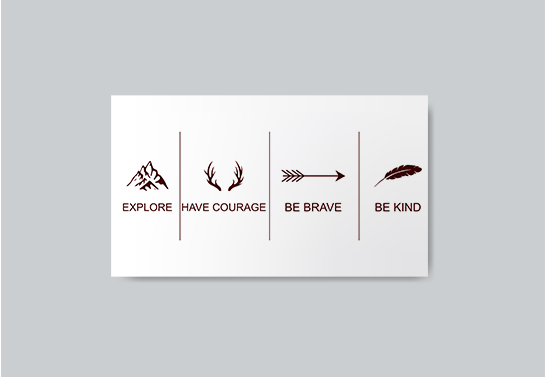
Idea 2. Go for creative
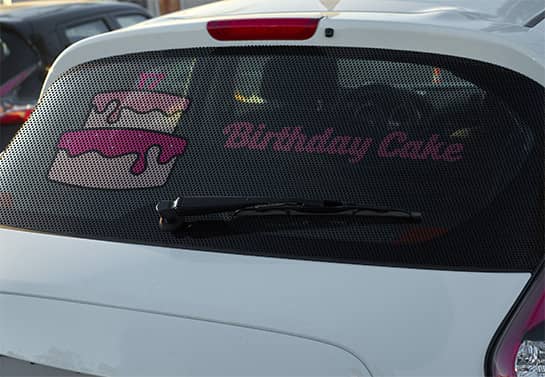
Idea 3. Perforated window decals
How to make bumper stickers with these easy steps
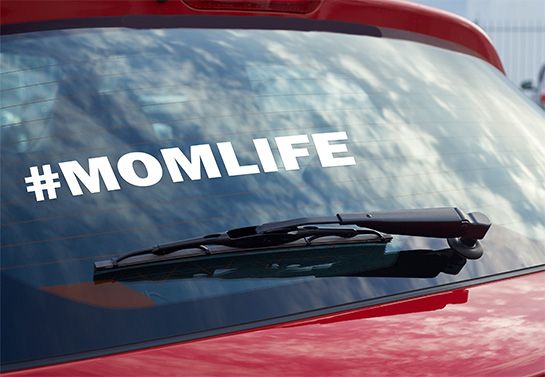
These days, you can apply a sticker anywhere on your vehicle as long as it doesn’t block your view. However, the ideal location is the bumper of your car, where people will see the bumper sticker the most. Frequent messages displayed on them are expressions of self-identity. Wondering how to make bumper stickers?
Let's get into the process and see what supplies we will need.
Steps to follow
- STEP 1. Do you have your own idea? Draw it on a piece of paper with bright colors.
- STEP 2. Once your handwork is ready, scan it to your computer. Then you can make any changes you want.
- STEP 3. Now you have your template ready. Duplicate it in a way that will enable you to set them on one page.
- STEP 4. Now you have your design motif. Next, you should take a printable vinyl sticker paper, well-suited for your printer. Always follow instructions to avoid technical difficulties.
- STEP 5. Then fill the printer with sticker paper according to the instructions.
- STEP 6. Print out the stickers onto the printable vinyl paper. Don’t forget to follow the instructions.
- STEP 7. It will be better to leave the ink to dry for 20-25 minutes.
- STEP 8. Thinking about using a more durable sticker? When it’s printed, grab a self-adhering laminate sheet and strip it back from one of the corners. Once the backing is removed, start the application exercise.
- STEP 9. Apply the laminate to the vinyl paper with the squeegee. Do it very slowly to avoid air bubbles.
- STEP 10. Now that your sheet is protected, use a pair of scissors to cut the sticker out.
Materials Needed
- paper
- markers
- scanner
- computer
- printable vinyl paper
- self-adhesive laminate sheets
- squeegee
TIP Want to have a trendy and expensive-looking product? Die-cut stickers have you covered. They’re generally stickers with a white outline. You craft them by applying a white background to outline your clear vinyl stickers or by leaving the edges on when cutting your white decal.
Inspiration ideas
Get inspired by these creative sticker ideas:
Idea 1. Die-cut stickers

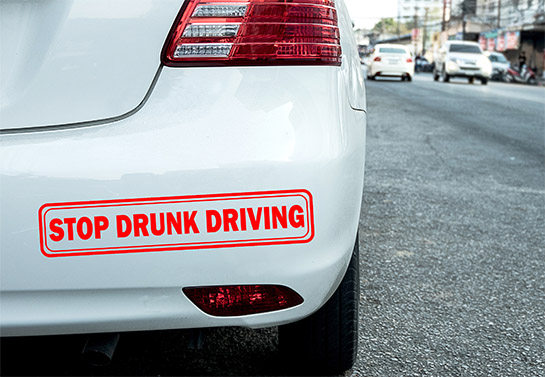
Idea 2. Stop drunk driving
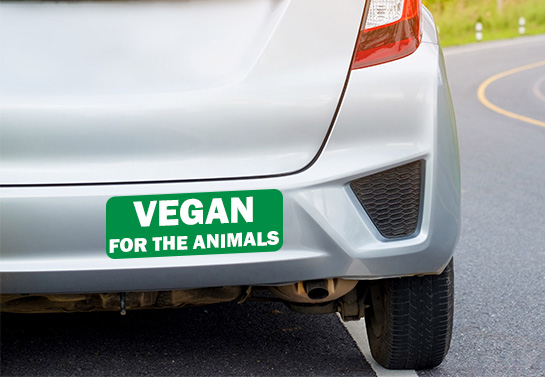
Idea 3. Vegan for the animals
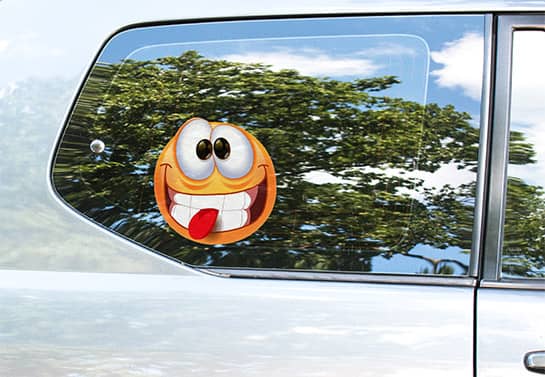
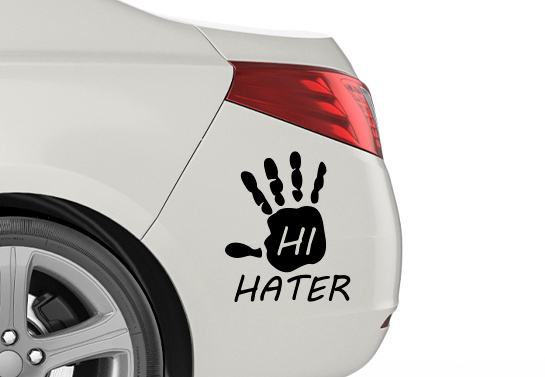
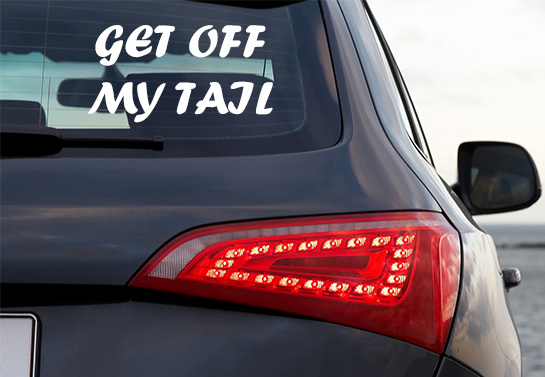
Idea 4. Hi Haters!
Now, you already know the simple techniques for making custom sticker designs for your car. It is time to take it to the next level and learn how to put a decal on a car.
How to put a decal on a car in 6 steps
Installation is an important factor to take into consideration. Regardless of whether your graphic is handmade or ordered online, the application requires specific techniques. Decals can be placed on side doors, the back of van doors, bumpers or windows. Do you want to know how to install large decals on a car? Scroll down.
How to apply decals to the car body with secret techniques
As the installation requires a gentle approach, it’s easier to explain it using the example of large decals. Working with them can be a bit difficult as you can’t split them up into pieces. Don’t worry! There are secret trade techniques I can’t wait to share with you. Let’s take a look.
- STEP 1. To begin, use tape to firmly place the graphic into your desired position. Make sure it stays in place. The important part is the bottom. You should also leave one of the side edges accessible.
- STEP 2. From the part you left open, gradually and attentively strip-off the paper backing. Stop when you reach the middle of the sticker and using scissors, cut out the part of the paper that was peeled away.
- STEP 3. Once you cut off the white paper backing, the exposed part of the vinyl can be stuck onto the surface. Starting from the middle and moving outward, patiently stick it back to the original position you had it on the car. Use the squeegee to even out the area where the backing was removed.
- STEP 4. Now that half of your graphic is stuck onto the body, take out the other pieces of tape. Carefully peel off the paper backing from this part also.
- STEP 5. Now take a squeegee and start to push the rest of the graphic against the car body. Make sure everything has firmly adhered.
- STEP 6. Now it’s time to take the transfer paper off. Use lightweight pressure when peeling to avoid pulling off the vinyl with it. Go over it and make sure your graphic is firmly applied to the vehicle. That’s it!
Materials Needed
- Scotch tape
- Scissors
- Squeegee
Now that you know all the techniques of installing large graphics to the car body, let’s jump into the window section. Frankly speaking, there is no big difference between installation on a car body or window surface; just some points you should keep in mind. In the upcoming section, I will describe how to install car window decals in 2 ways.
How to apply car window decals with dry and wet options
To have a successful installation, you should gather the proper tools that I will note below. There is another thing you should remember - the window should be clean and relatively cold. Keeping this in mind, read below to learn how to install car window decals in 2 ways.
Steps to follow for dry application
- STEP 1. Before installation, wash the glass with either rubbing alcohol or water mixed with a window cleaning product such as soap.
- STEP 2. Begin by peeling the backing from the vinyl. Without letting any part of it touch the window surface, place it over the desired position.
- STEP 3. Are you satisfied with your placement? If so, start by laying one edge of the graphic down using your hand. Gradually smooth the rest of it onto the surface.
- STEP 4. Then, starting in the middle and moving out towards the borders of the graphic, glide the squeegee to apply slight pressure over the surface area. Ensure the adhesive is properly set.
- STEP 5. Pull the transfer paper slowly, paying attention that no part of the sticker is pulled up with it. If any edges start to peel, carefully stick them back into their place with the squeegee tool.
- STEP 6. Handle the decal with a microfiber cloth when using it without the transfer paper to avoid scratching the vinyl.
Materials Needed
- alcohol/water/ soap
- squeegee
- microfiber cloth
Steps to follow for wet application
- STEP 1. To start, add four drops of dish soap in a large spray bottle and shake it well with water to combine.
- STEP 2. Mildly spray it both on the surface of the car and on the transfer tape.
- STEP 3. Once the decal is positioned where you are happy with it, repeat the second step. Starting in the center and moving out towards the edges of the decal, use the squeegee to push the water out from it.
- STEP 4. When all liquid has been cleared away, you can carefully pull the transfer paper off to reveal the new vinyl decal as above.
Materials Needed
- soap
- spray
- squeegee
- microfiber cloth
It’s ready! Take a look at how amazing it is!
Now you know the essentials of both making your own car graphics as well as installing them. I hope you found this guide helpful. However, if you want to skip all these steps and effortlessly create something professional and unique online, try our free sign design tool.
We have also created special templates to help you with design ideas. Check them out!