Table of Contents
In addition to our video tutorial, we’ve decided to write a blog complete with a step-by-step guide and extra tips explaining how to get the most out of our free design tool.
How to Access Our Tool and Design a Sign For Free?
Get a variety of sign printing services to create home decorations and business solutions using our online tool. You may access our free tool in a number of ways to create your custom signs. Here are a few ways:
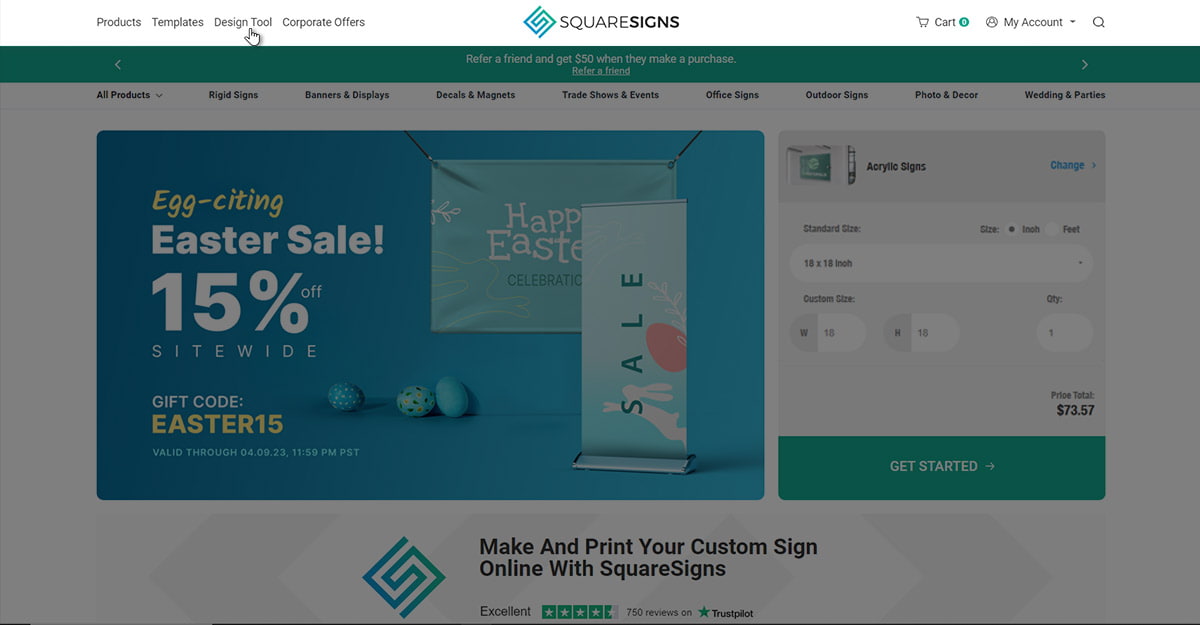
1. Click the “Design Tool” button at the top of the homepage.
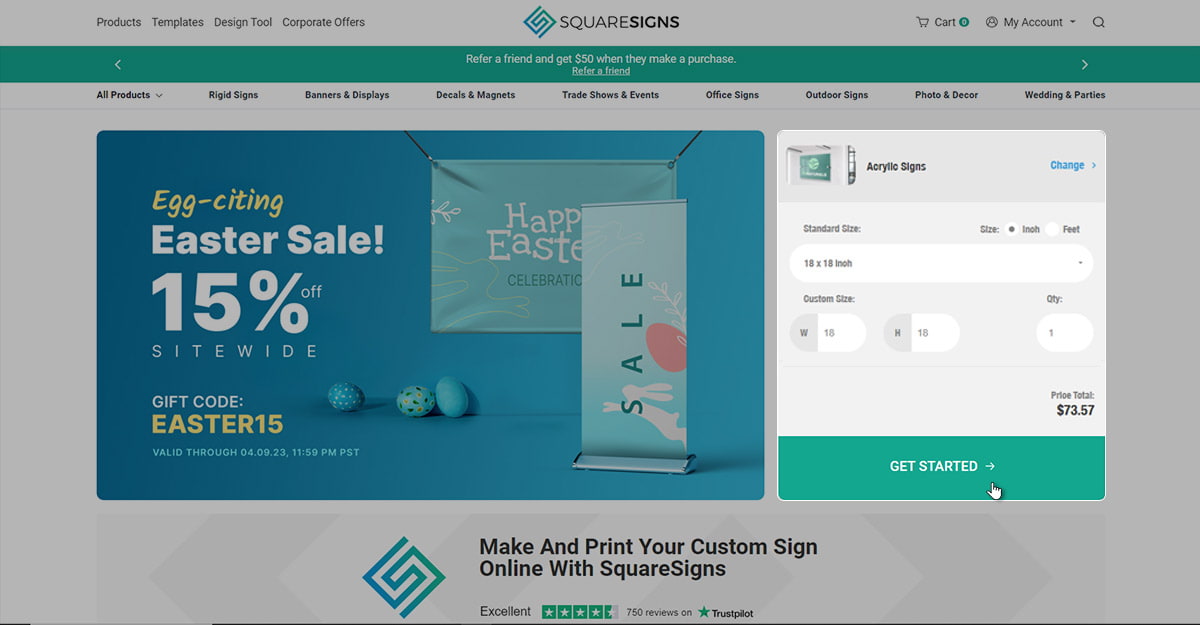
2. Or click the “GET STARTED” button which you can find on any product page. You’ll find it at the top right side of the page.
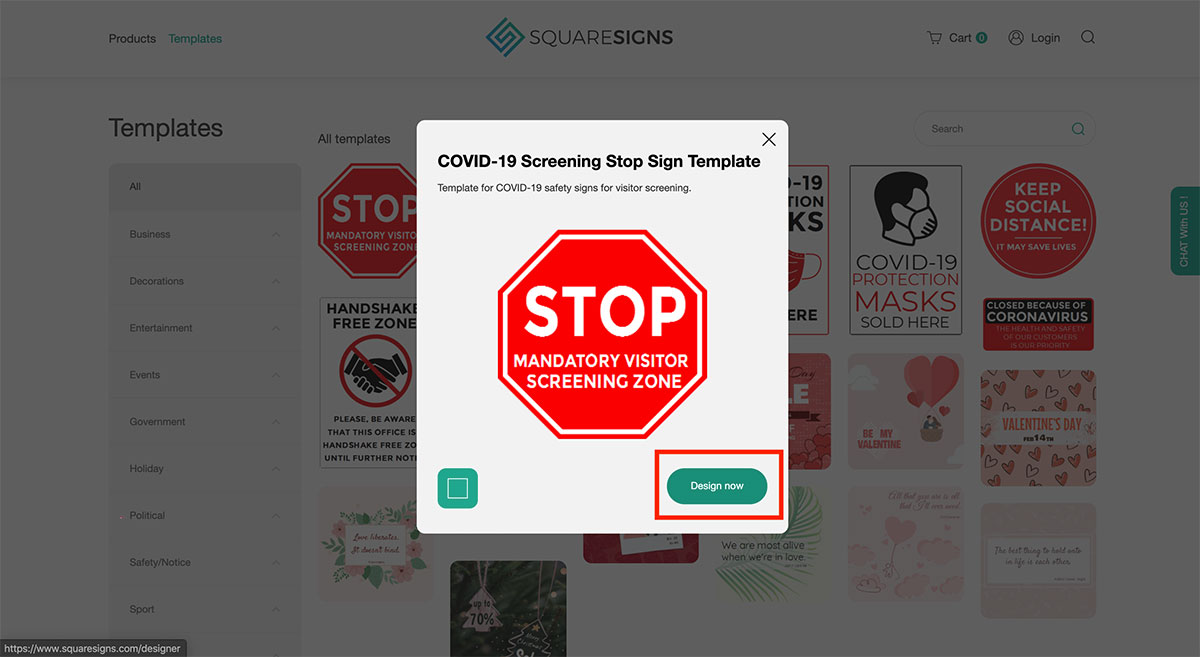
3. You may also access it from the templates section. You can get to the templates page by clicking the “Templates” button at the top of the homepage. From there, click on any template then click on the “design now” button on the pop-up.
Create your perfect design in minutes! Try our easy-to-use, free sign design tool now and bring your ideas to life.
How to Design a Sign: Each Tab and Feature Explained
After you successfully get to our free design tool page, here’s what you need to know about it. Explore the page to learn how to design a business sign and more. Below, you can find a detailed guide on what each tab is used for and all the features that they offer.
This is the sidebar:
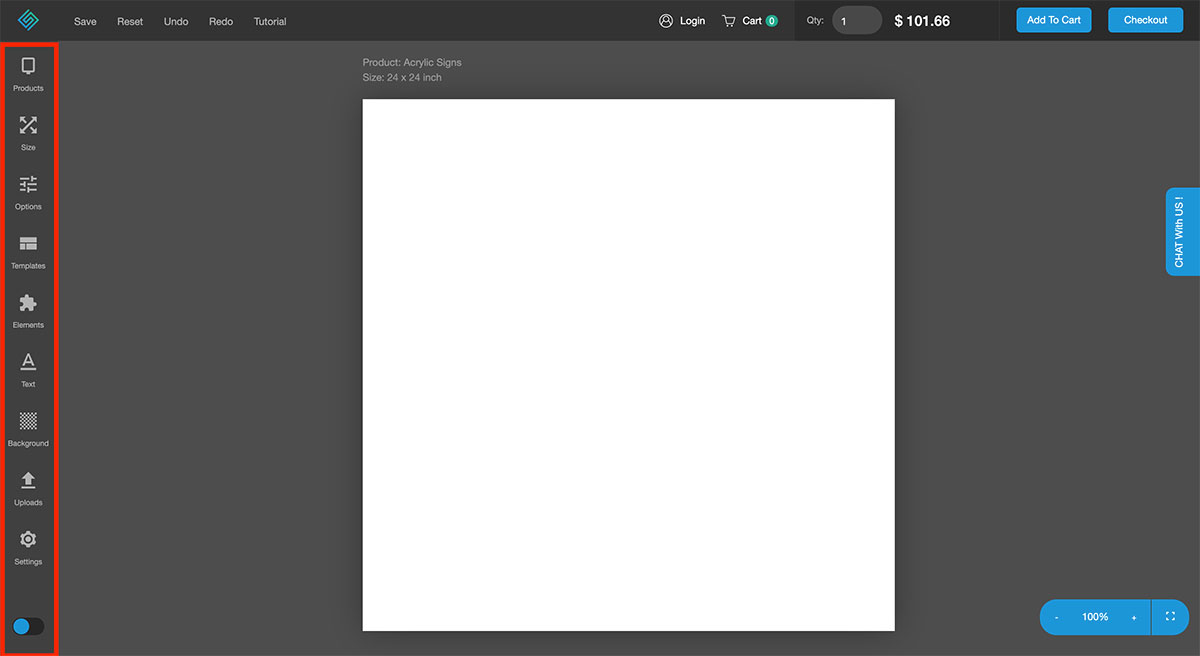
In the product tab you can choose the product you want to design and purchase. If you don’t select any, acrylic photo prints will be selected by default. However, if you access the tool from a certain product page, like vinyl banner printing, that product will be automatically selected.
1. To find your desired product, click on the products icon on the sidebar and use the search bar.
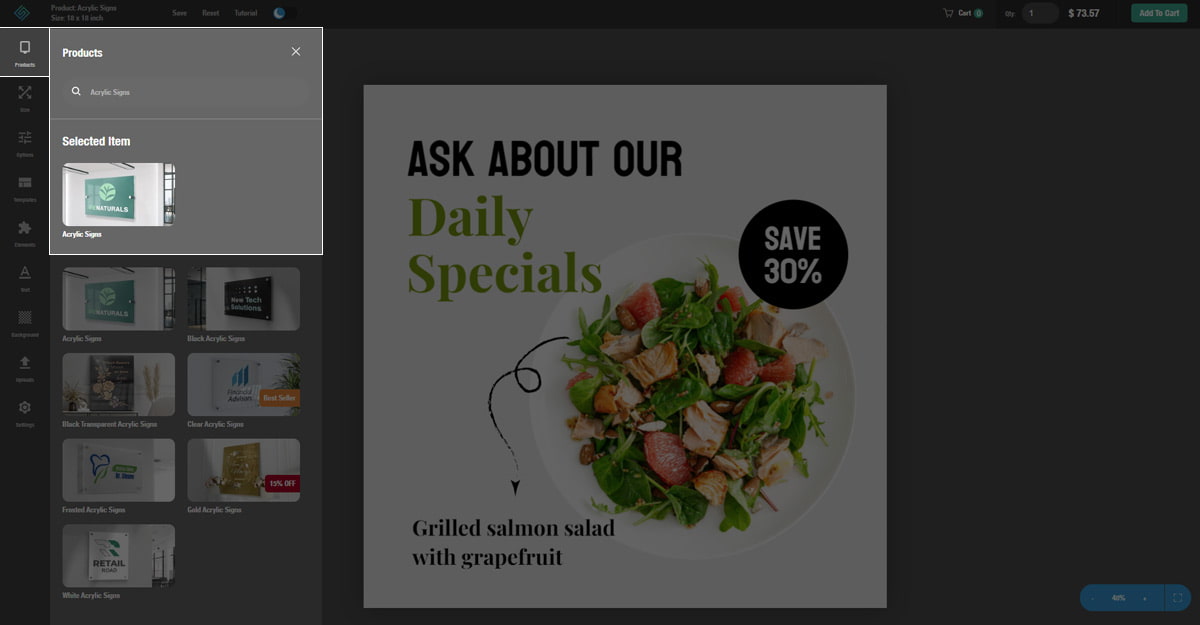
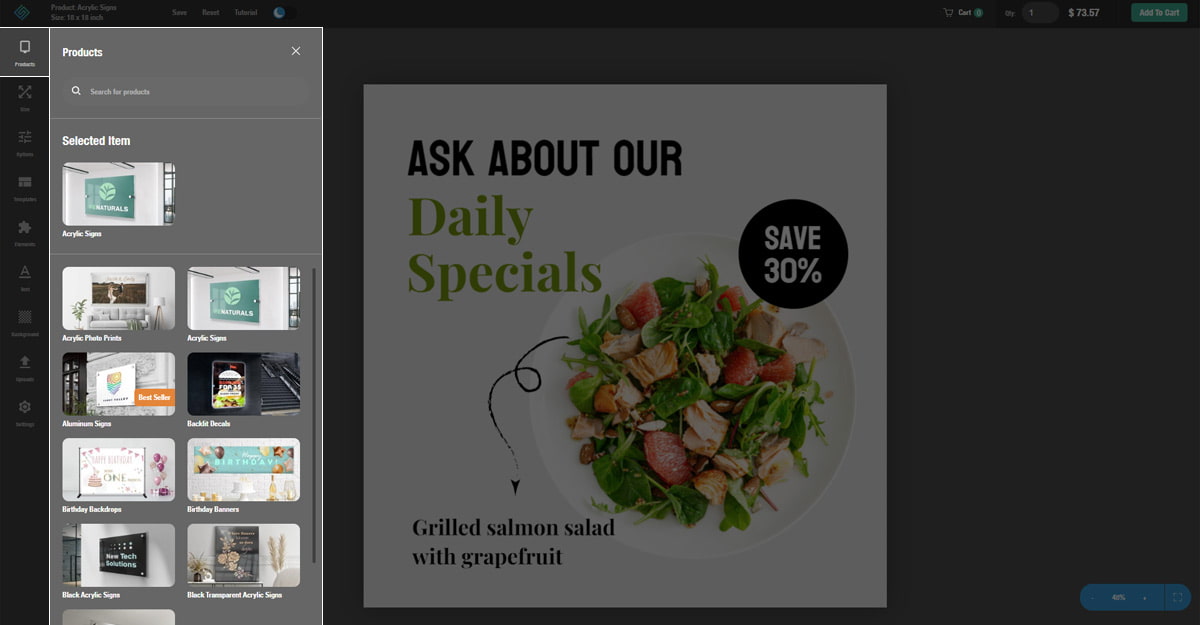
2. You can also scroll through the products list in our free online tool and select the desired one.
Next comes the size tab:
1. This is where you choose your product’s size. You’ll find the sizes either in inches or feet.
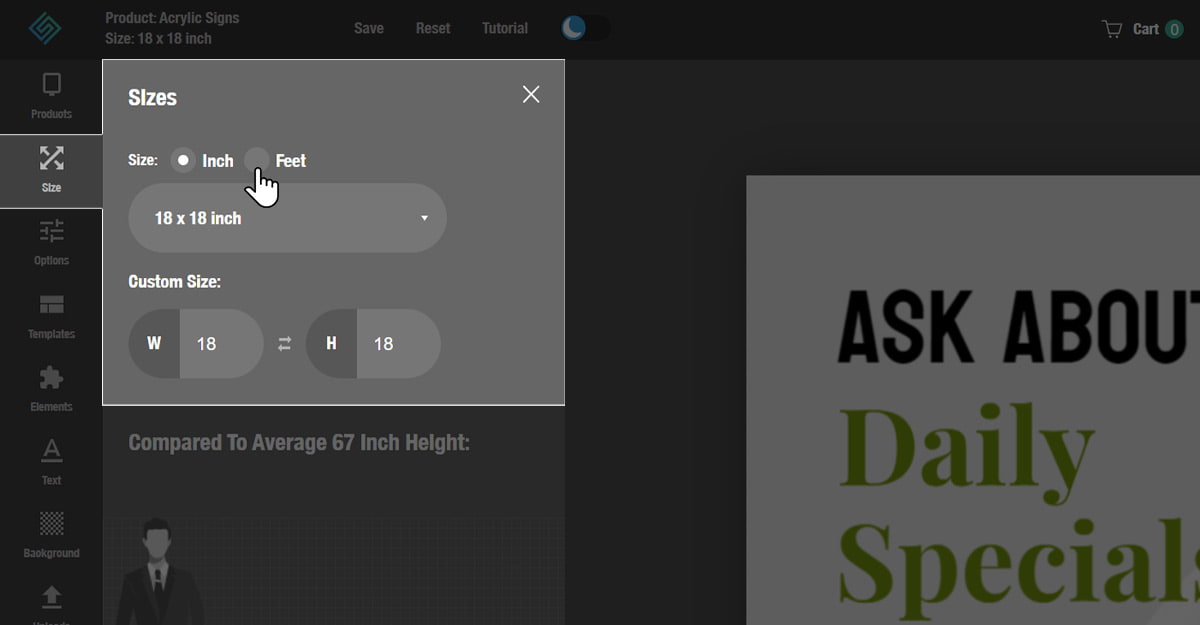
2. You can choose one of the standard preset sizes or set a custom size for your product.
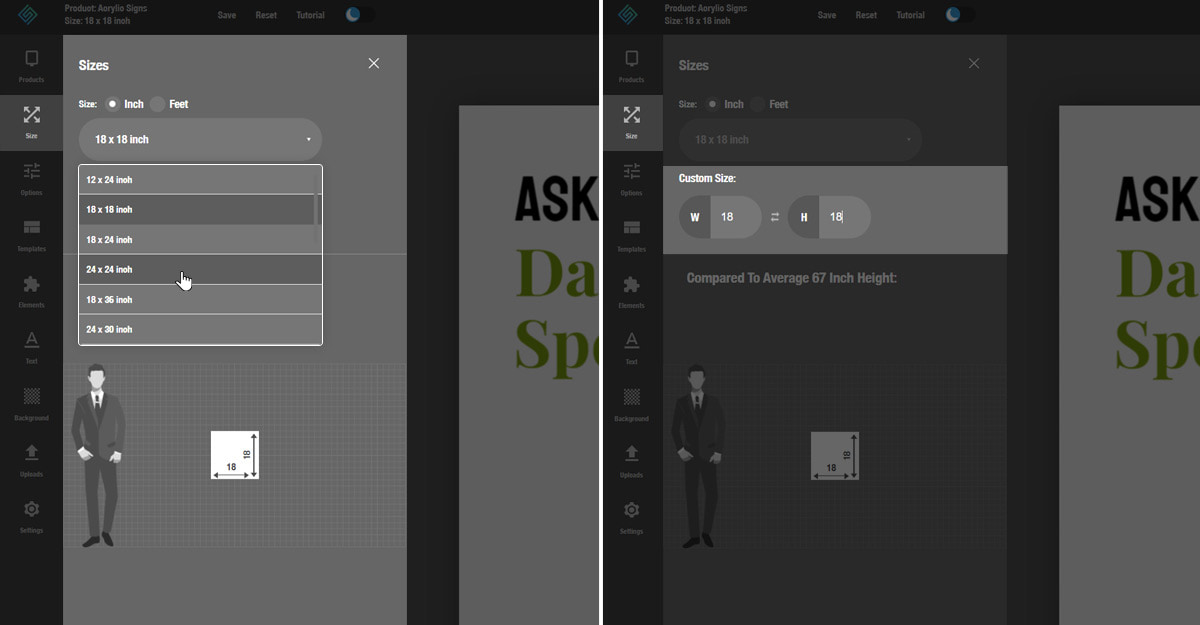
3. The button in the middle with arrows allows you to switch between width and height.
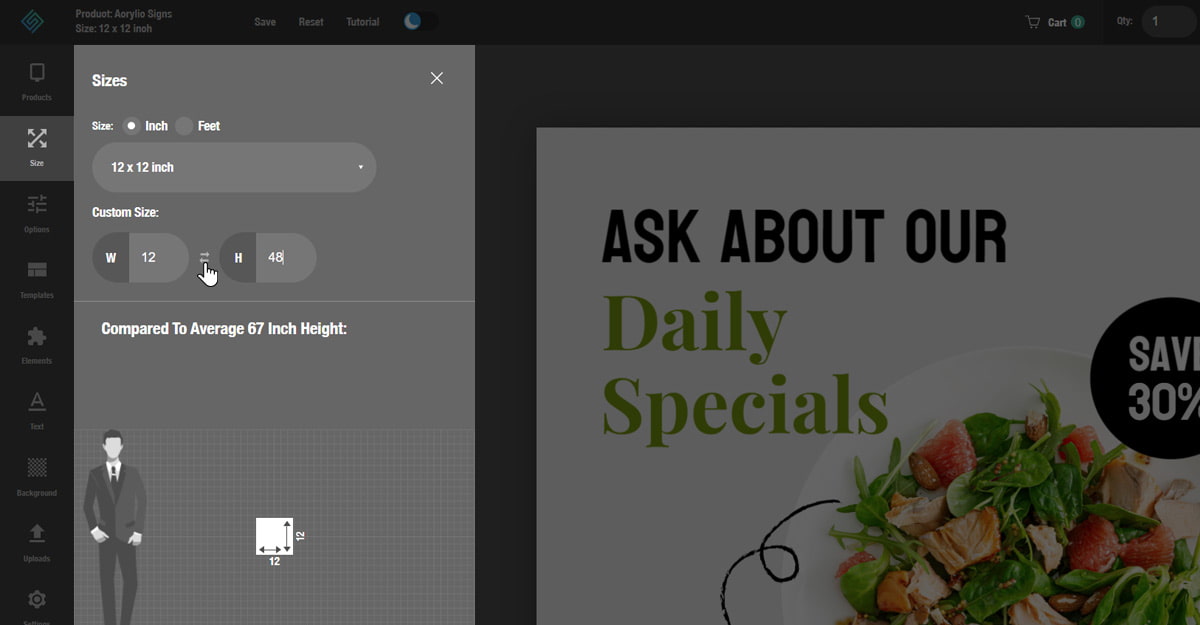
To help you better visualize the size of the product, this section shows how it compares to a person measuring 5’5 in height.
Up next is the options tab where you can see all the modification options and accessories available for your product. The number of available modifications varies from one product to the other.
For example, custom acrylic signs have the following six customization options:
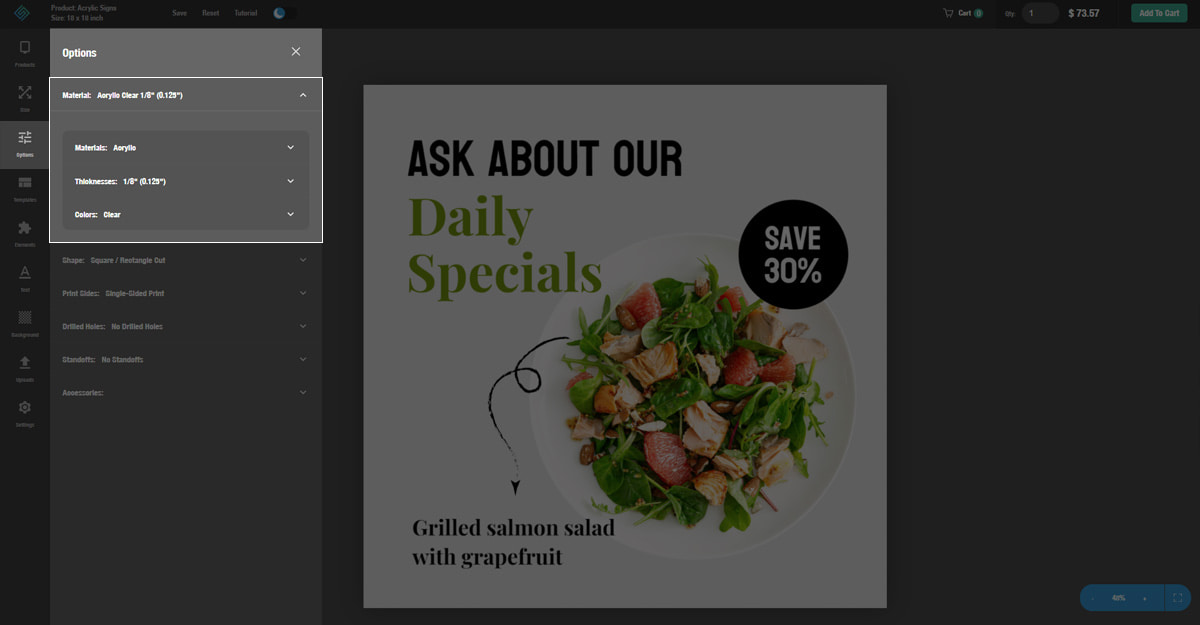
1. Material - this tab allows you to see the product’s material and change its thickness and base color.
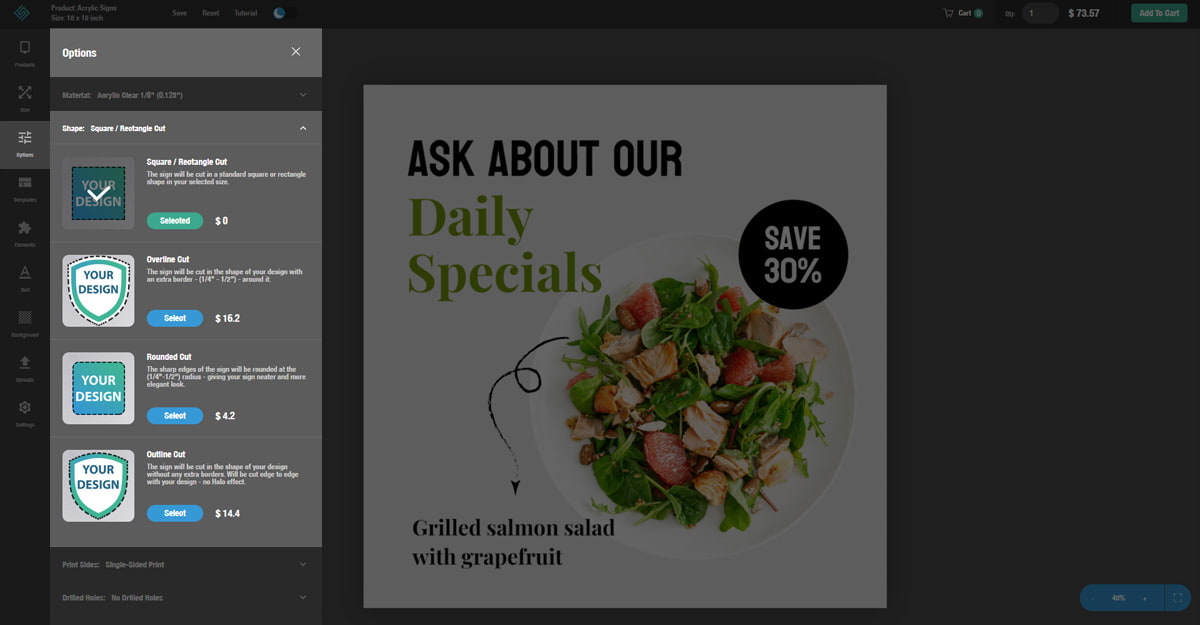
2. Shape - this is where you choose one of the cutting options available for your product. You can see the detailed description of each cutting option here.
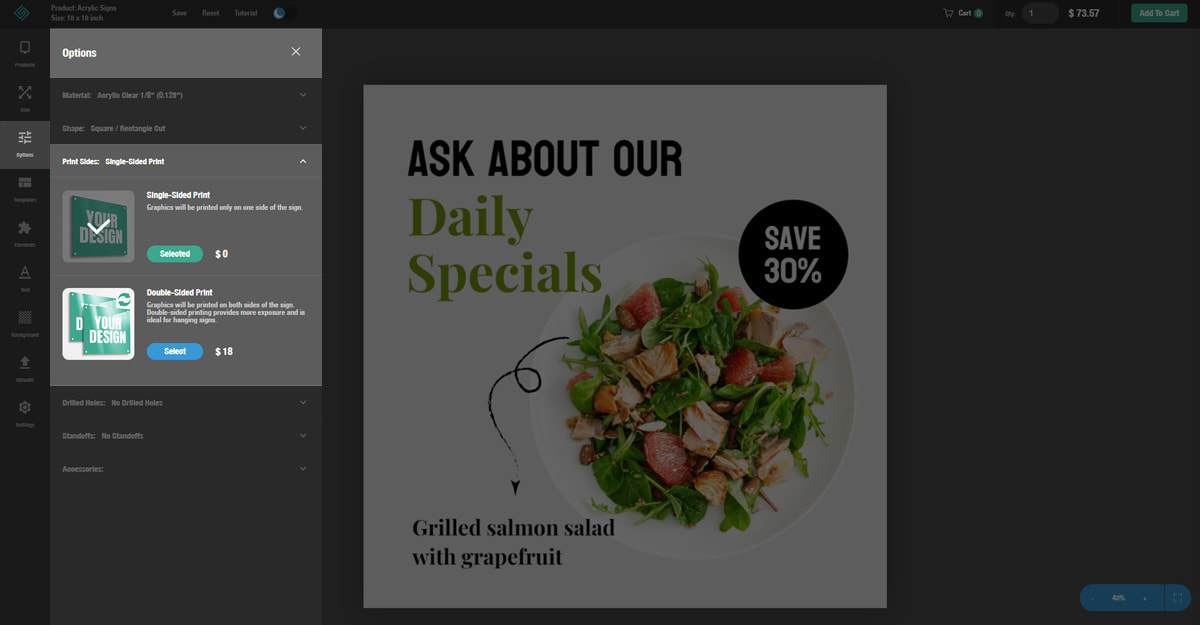
3. Printing - this option allows you to choose the printable side or sides of your product. If you choose double-sided products, the illustrations will be featured on both sides.
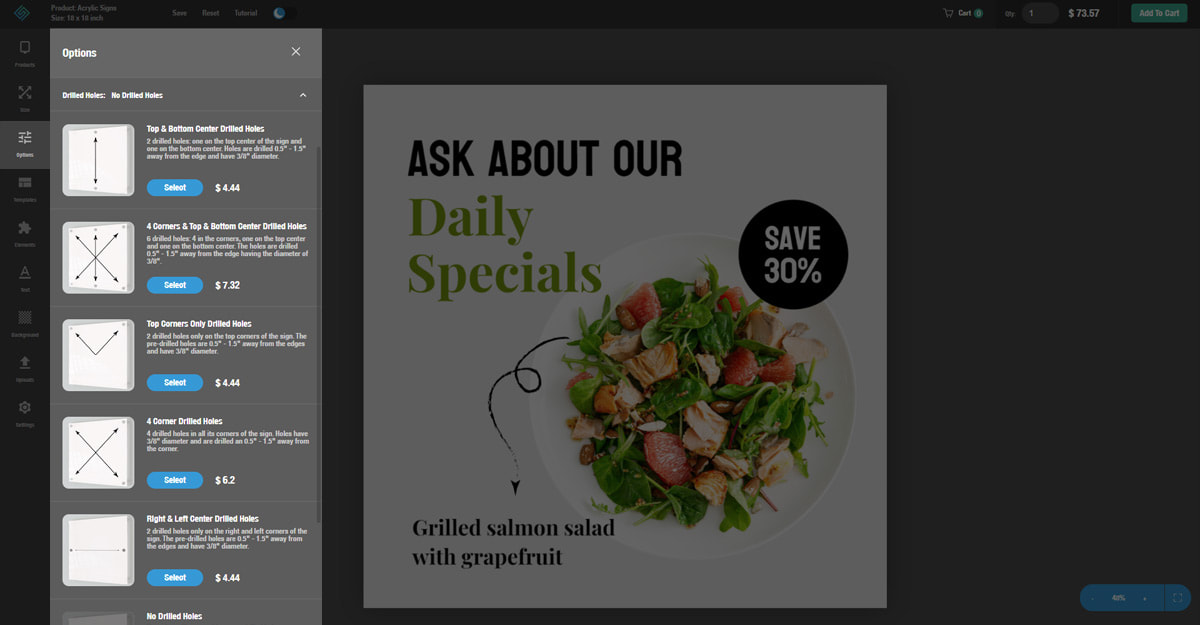
4. Drilled Holes - select this option if you want pre-drilled holes on your product. You can also choose the number and location of the holes.
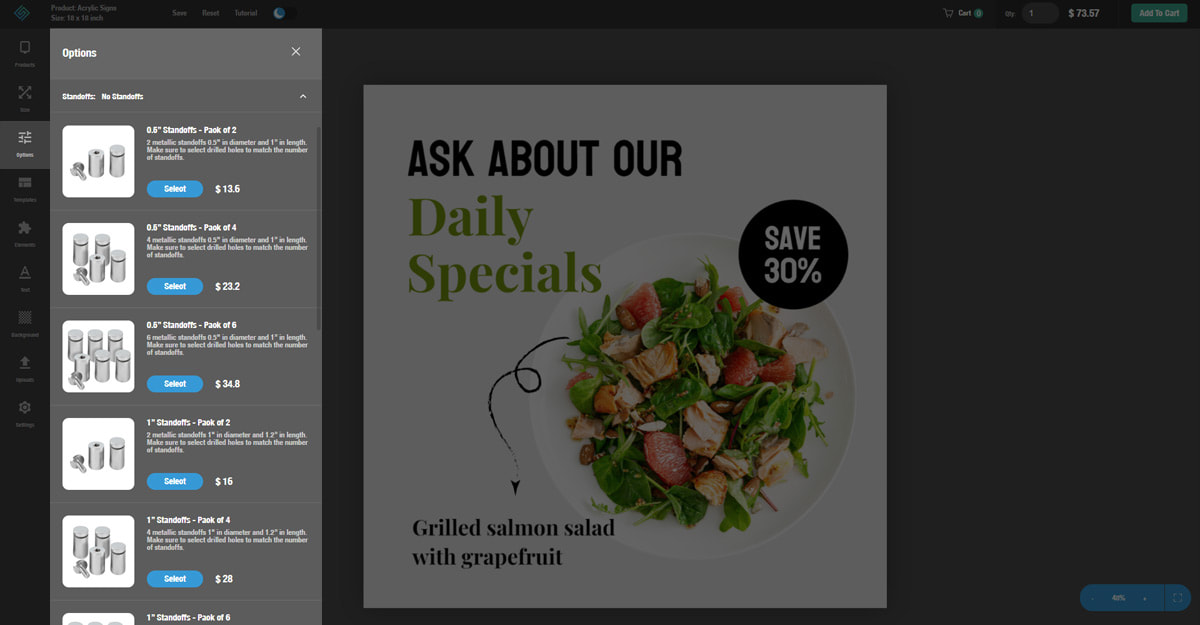
5. Standoffs - depending on your needs, you can add anywhere between two and six standoffs. Our standoffs are available in two diameters and lengths as well as two coating options.
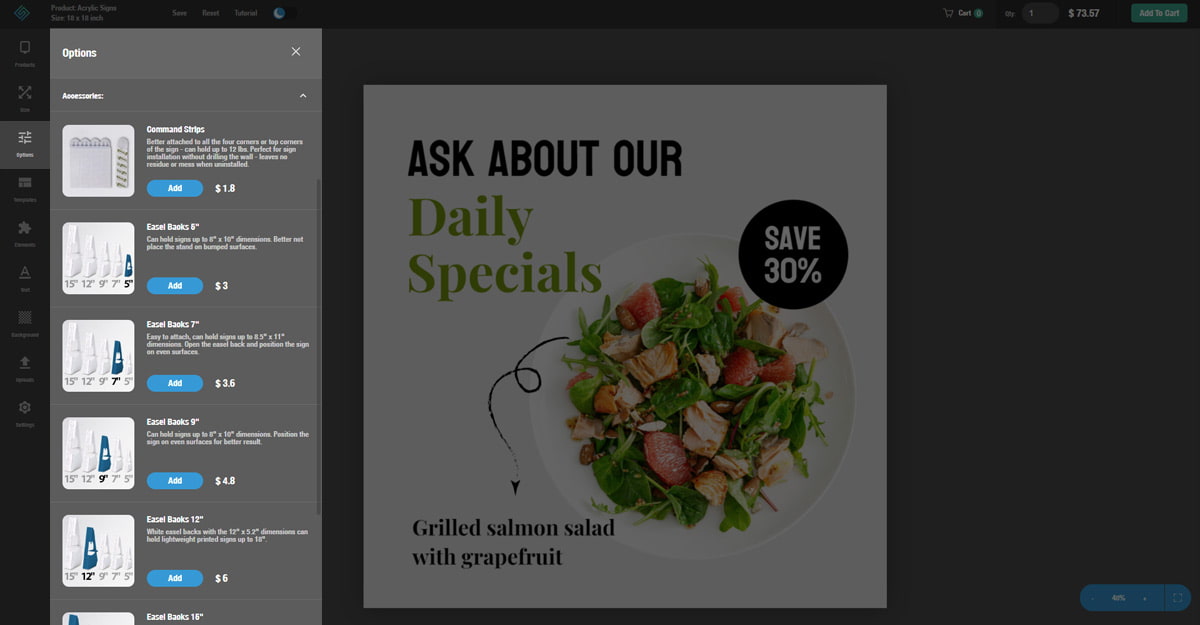
6. Accessories - you can see all the accessories available for your products - easel backs of different sizes and command strips. Depending on your needs you can choose one or more accessories to be included with your product.
The next tab is the sign templates tab:
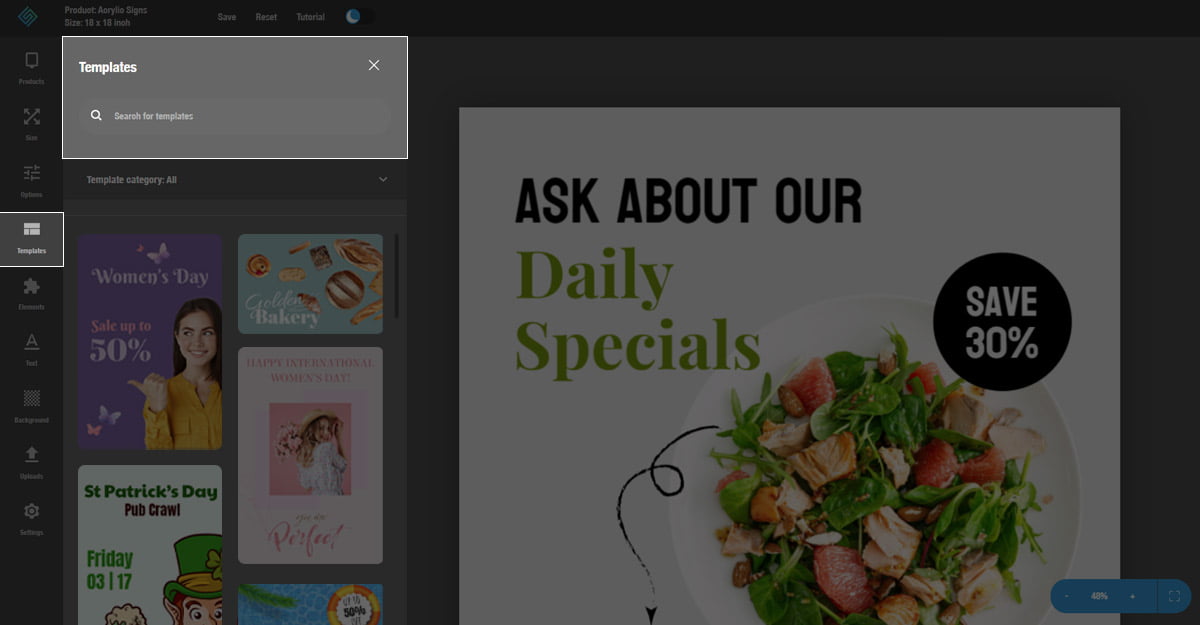
1. Find a template by scrolling through the previews or checking the categories.
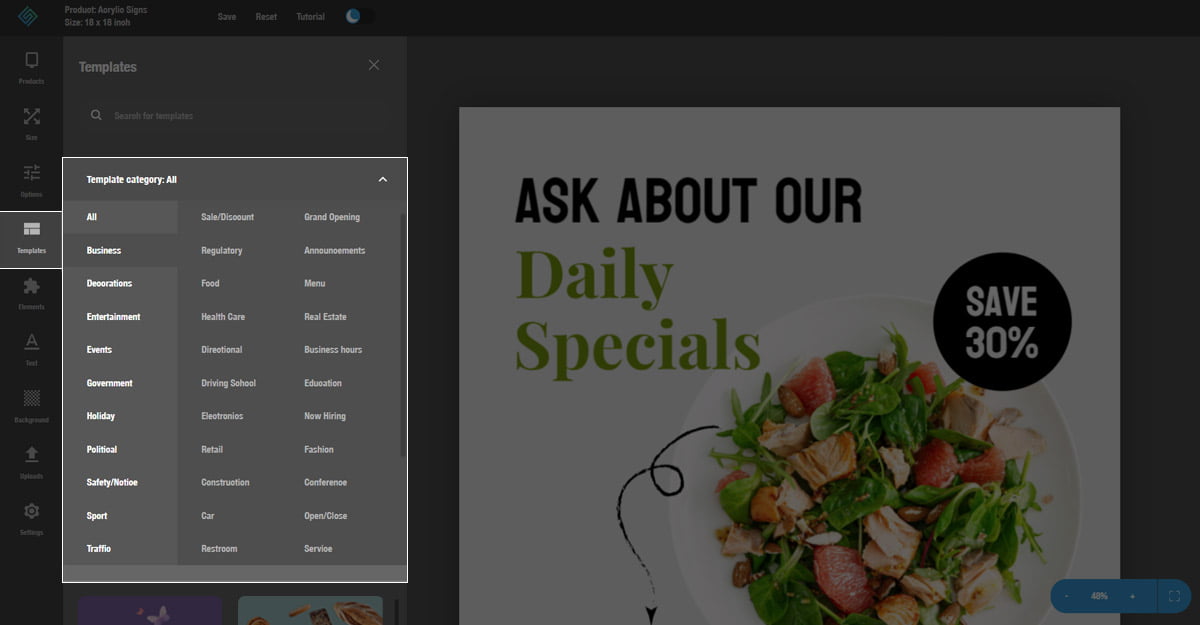
2. Use the search bar to search for a template and use it to design a business sign online. Just click or drag and drop the template onto the project board.
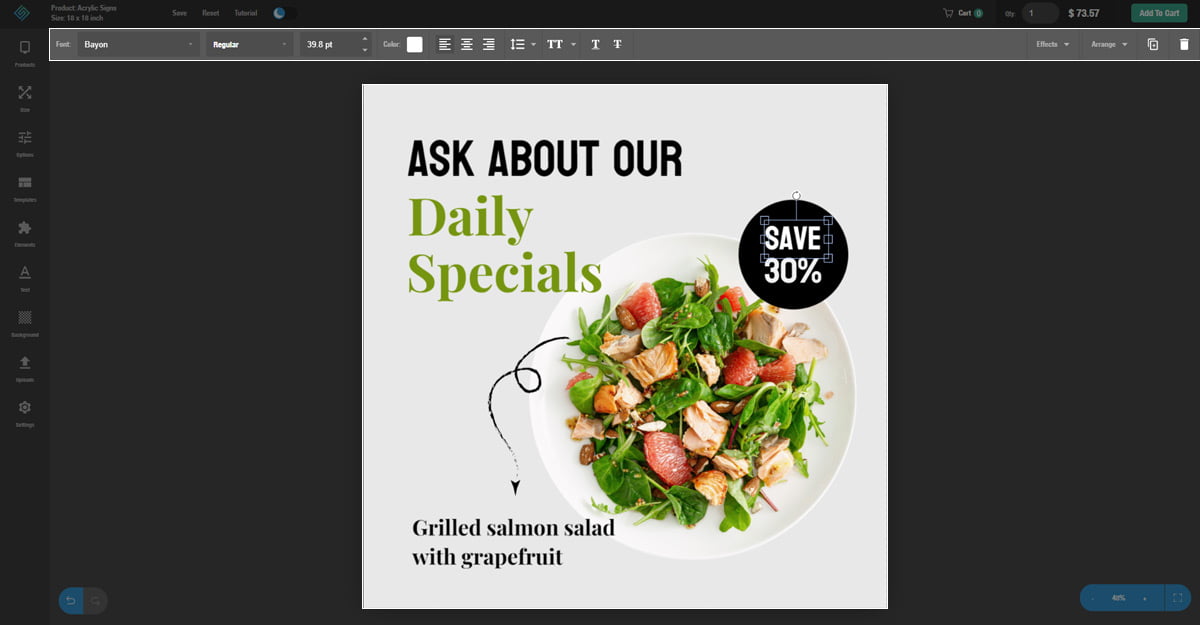
3. Our templates are customizable. Just click the element you want to change and use the toolbar to adjust. You can change or delete images, colors, texts and more.
In the next tab you can choose design elements:
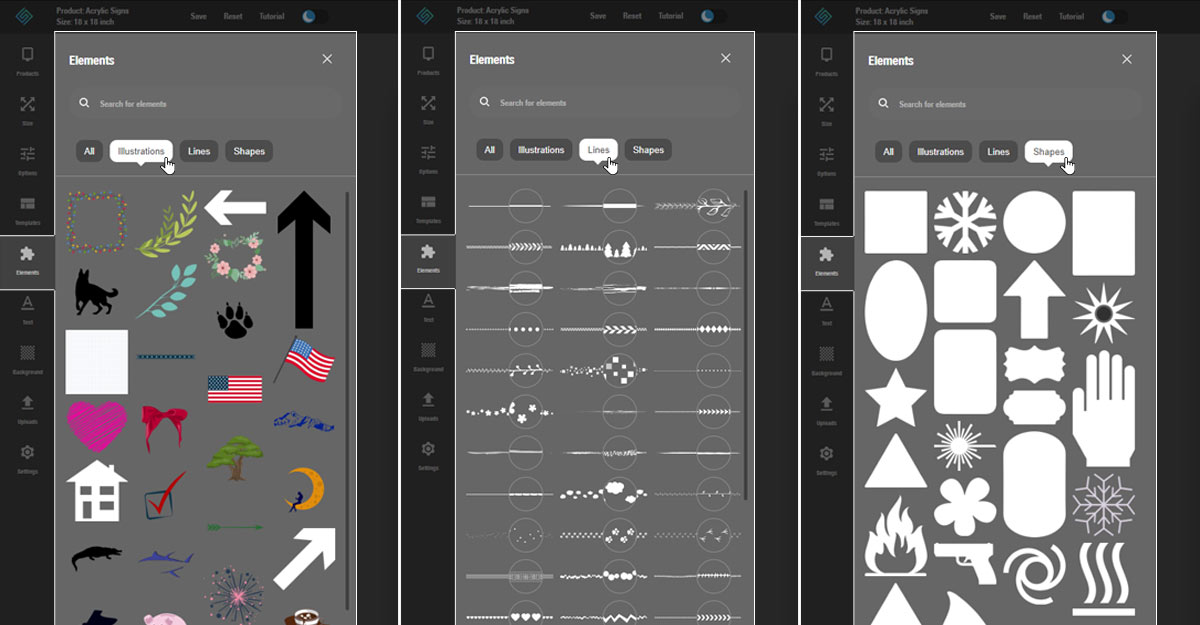
1. You can choose to see all elements or filter illustrations, lines and shapes to design a business sign for free.
2. Here you can also find your desired element by using the search bar.
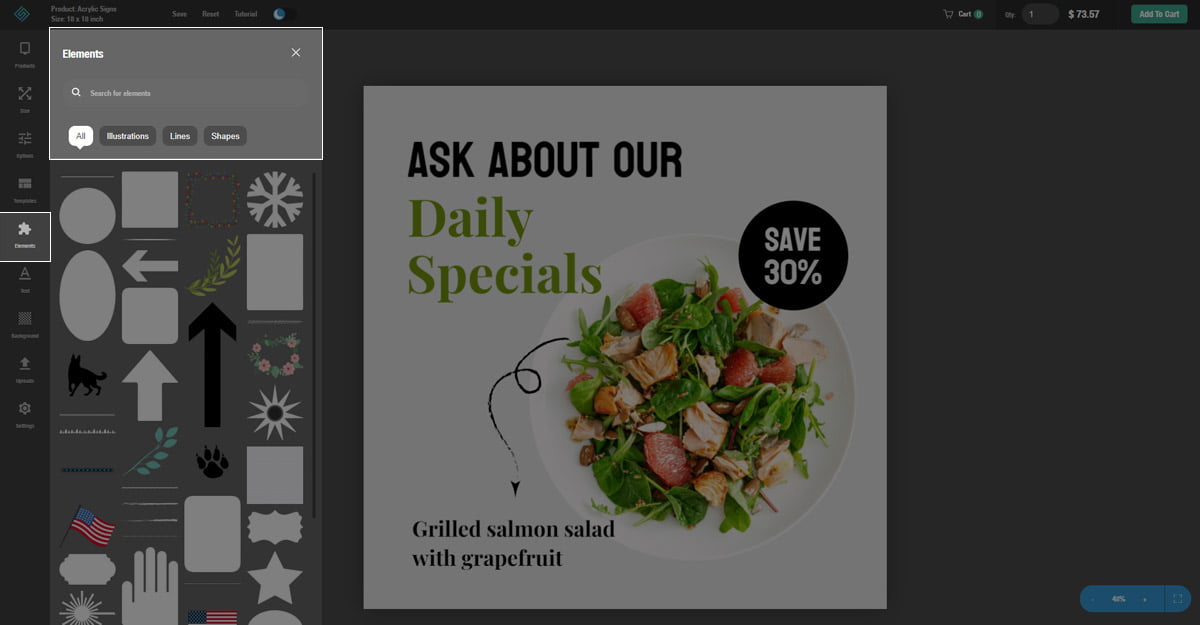
All the elements are changeable in size and color to fit your custom design.
The text tab allows you to add a text box to your design. Our tool has a wide range of font families, be it serif or non-serif to help you design a sign.
1. You can choose from different font types and styles to add business hours or to relay any other corporate information through your products.
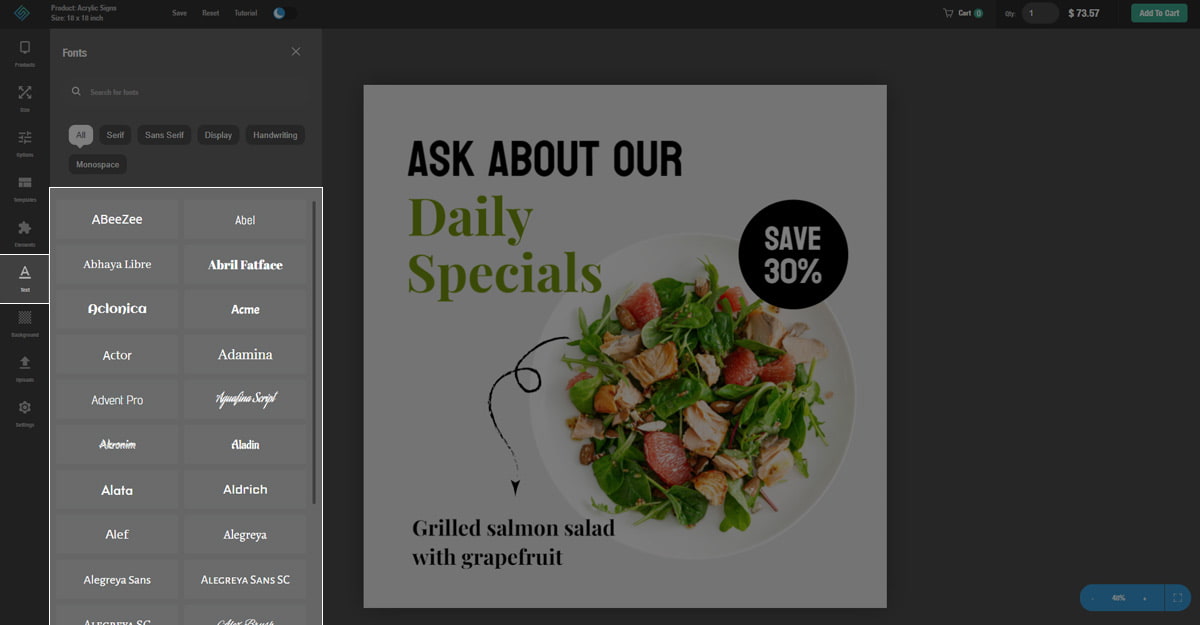
2. You can simply search for desired fonts by using our search bar.
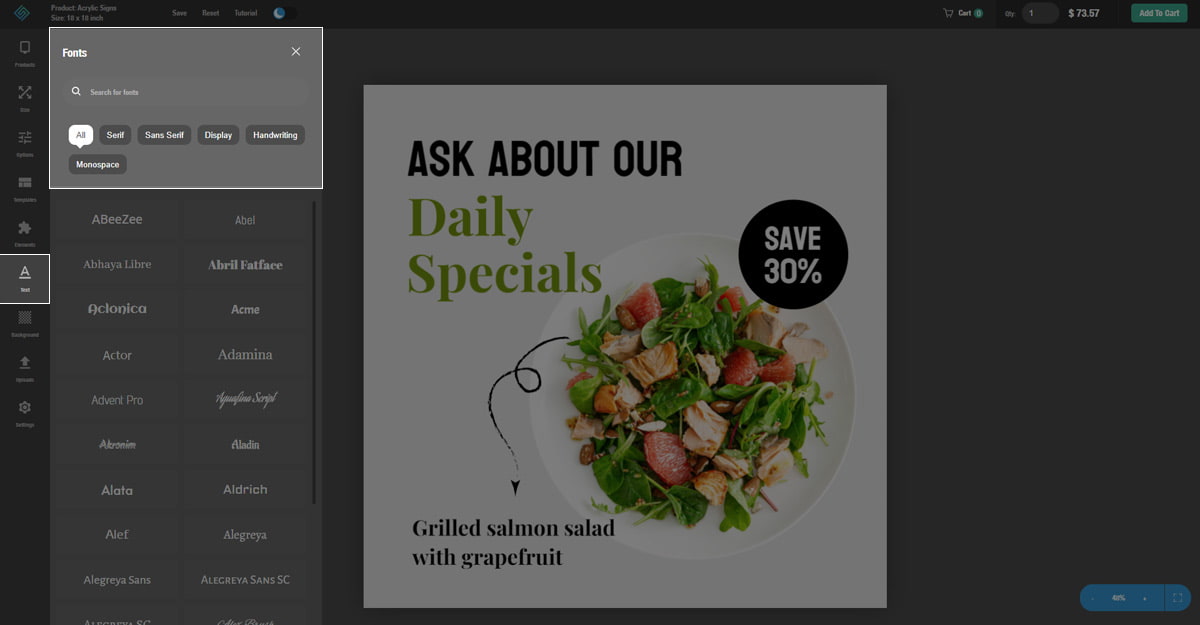
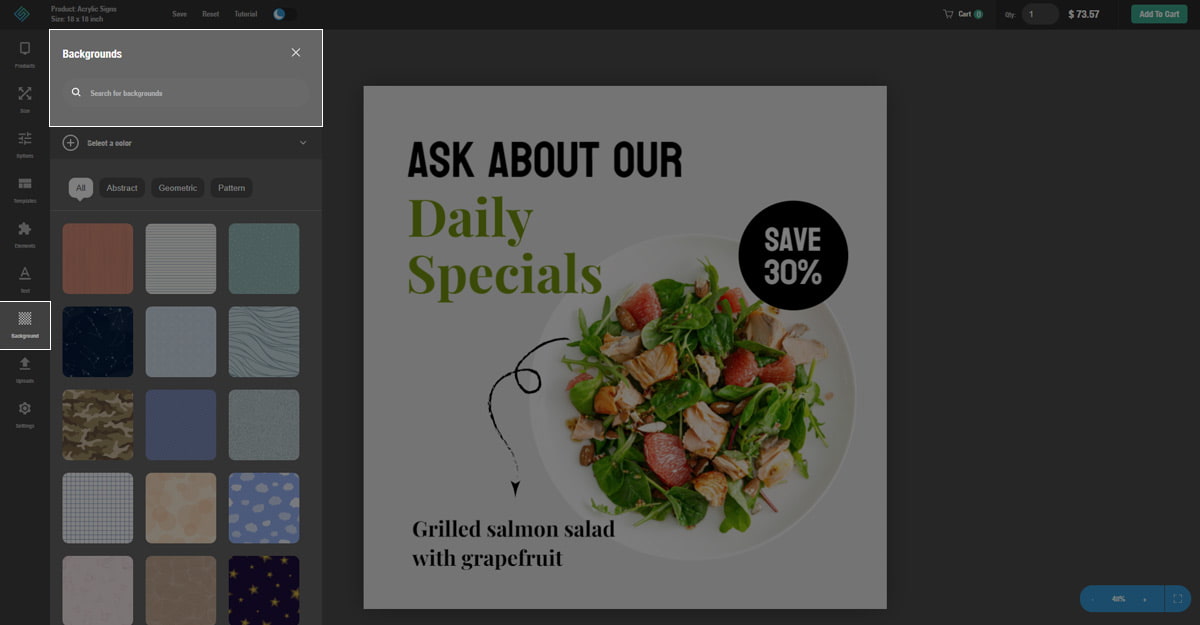
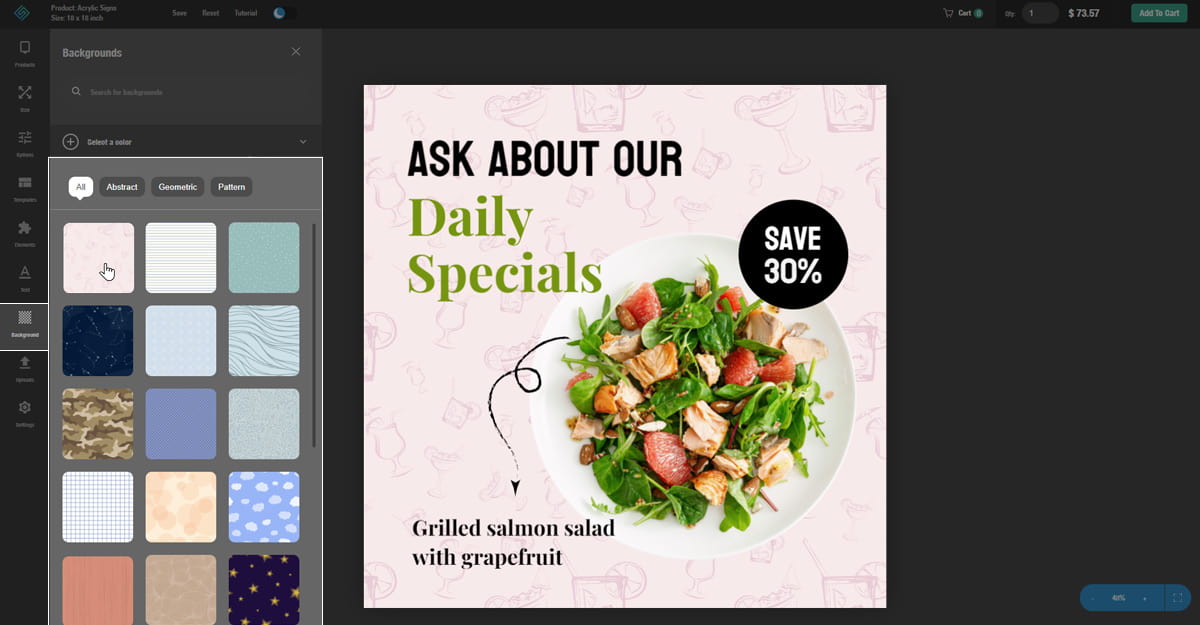
With the background tab, you can choose the background color for your design.
1. You can use the search bar for the appropriate background.
2. You can change the color by clicking on the “Select a color” tab. Choose from the hundreds of available background colors and textures.
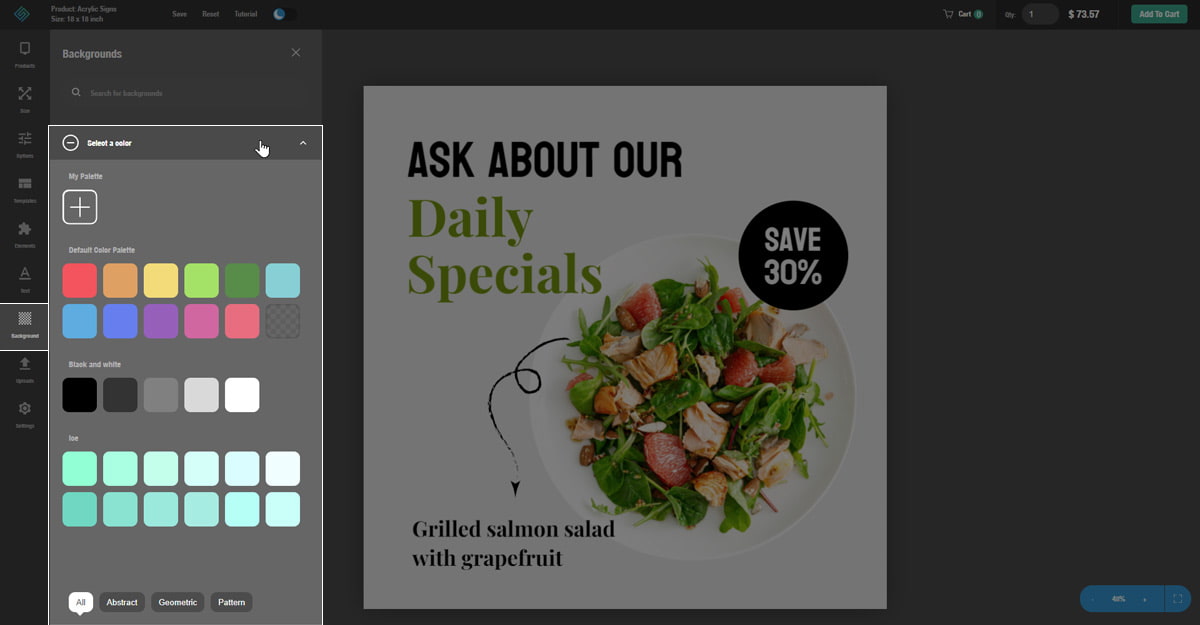
3. You can also choose from a variety of preset backgrounds available in the tool.
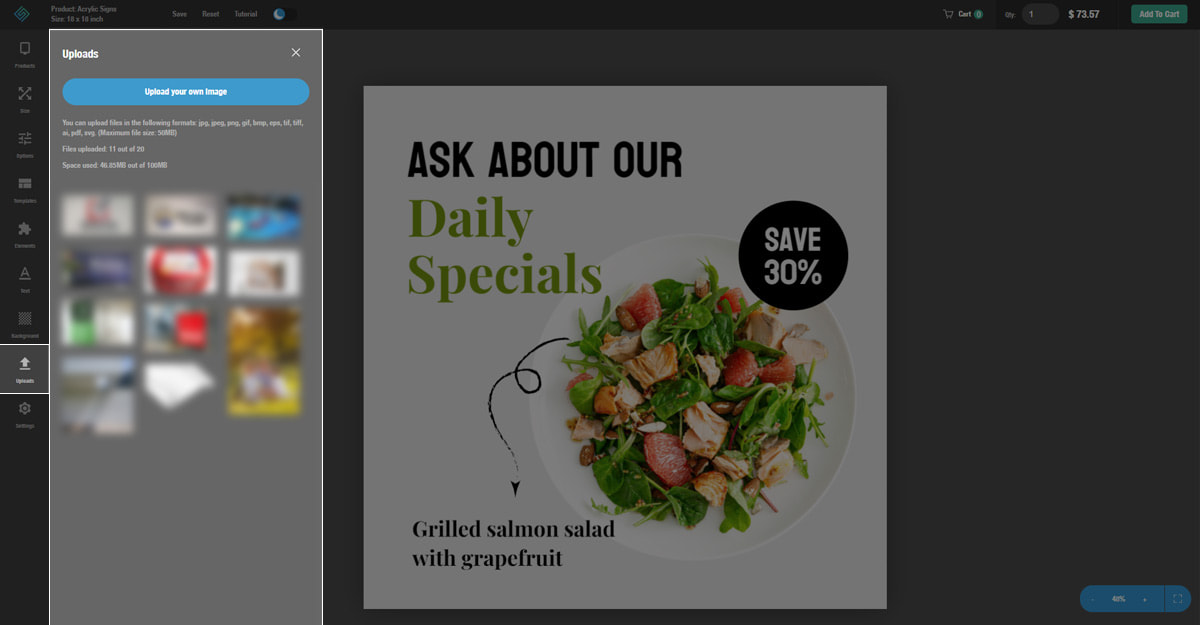
The tool also has an uploads tab where you can add your own photos to the design.
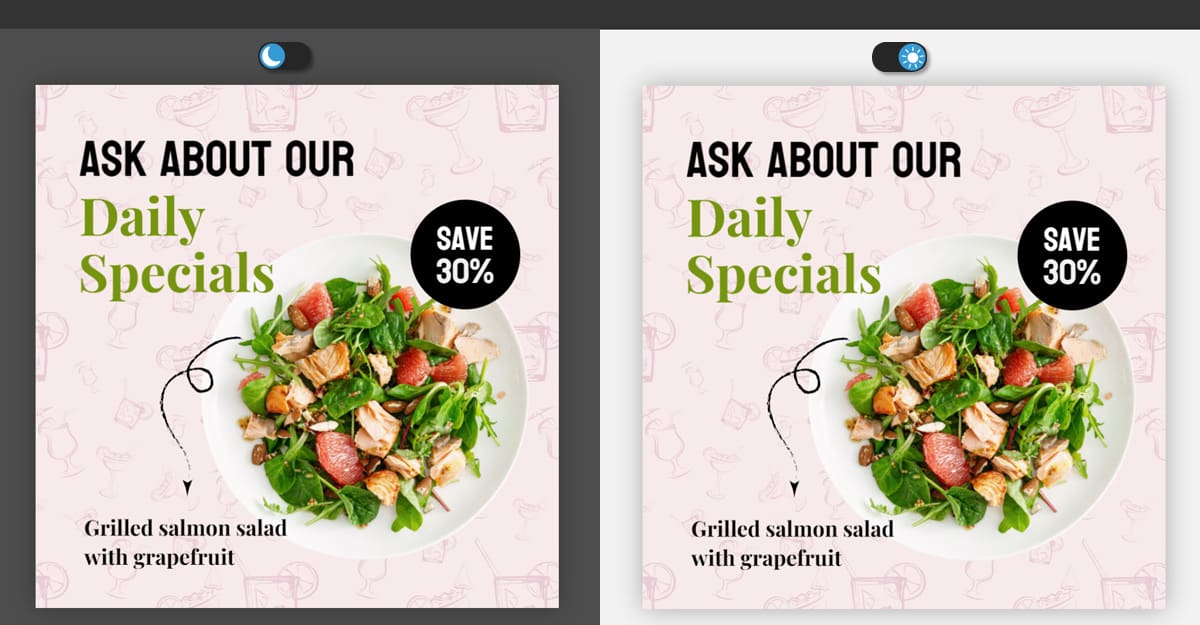
And finally at the top of the page you can choose the screen mode - light or dark.
By the way, all your designs are automatically saved to your account. You can also save them manually by clicking the save button.
There you have it! That’s all the info you need to design a sign online free now.
Get started today and create a product that truly reflects your style and message. Have a great time designing!


